5 Simple Tips for Taking Better Travel Pics
By Vaughan and Lauren Manuel McShane, www.thetravelmanuel.com
So you’re not a professional photographer, nor do you own a giant telephoto lens allowing you to spot a lion’s nostril hairs on a game drive. Neither do we. It’s true that part of what we do is take travel photographs that tell stories and capture the essence of spaces through a lens, but often a phone ( with a decent camera) and an entry-level DSLR has done the trick. And we totally get that when you’re on holiday, especially a grand one that’s taken you somewhere new; you wouldn’t mind a few tips to take better photographs to add to your album and show off on facebook.
So here’s a few simple tips that will improve your photography with a camera or cellphone.
1. Clean your lens
You may chuckle and think this is a given, but it’s not and I can’t recall the number of unintentionally ‘misty’ photos I’ve seen uploaded. Even when I think I’m good to go, my hubby reminds me to clean the lens of my phone before taking a family selfie. If in doubt, clean your lens with anything cotton after every second photograph, or at least that’s what my husband (with ‘dirty lens’ phobia) recommends.
2. Subject
If you’re anything like me, you’ll want to shoot spectacular landscapes like mountains, the ocean, hills and viewpoints until the sun goes down. But often when travelling to a new place, you’ll want to take photos of the people and their portraits too. Even if you remain in your own country, be respectful to the people you’re taking photos of. Always ask their permission first before just shooting at will. It always helps to start up a conversation, share a few laughs, find out about their lives before asking to capture them on camera. On one hand you get to meet someone new and on the other you’ve really helped them to relax and truly want to smile for you and your shot.
-
Look your subject in the eye
Whether you’re trying to capture a child lying on the grass or a man sitting outside a corner store on a crate, get to their eye level. This will be mean some stooping, bending and crouching but it will be worth it. Holding the camera at someone’s eye level really helps to bring out the magnetic power of a gaze or a smile. So when capturing portraits of people or animals always try focus on the eyes.
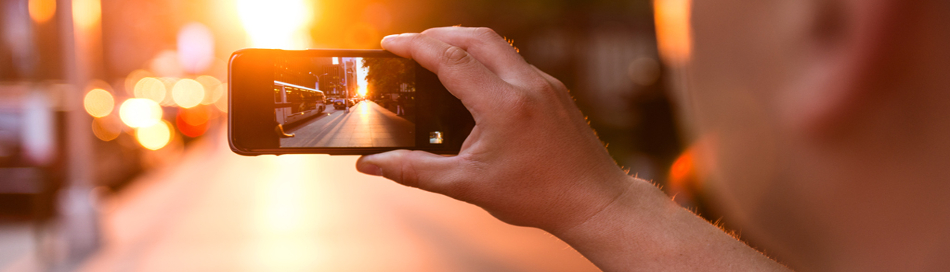
3. Light
Light is everything. The time of day you choose to shoot in can dramatically alter the quality of your photographs. So if you have a choice while travelling to shoot a particular area during the softer-lit hours of the day, also known as golden hour, then aim to be up just after sunrise and just before sunset. True to its name, the world and everything in it will be cast aglow and you may not even have to use an instagram filter afterwards. Midday you’ll discover quite the opposite, light is very bright and harsh and doesn’t portray all subjects in the best light.
-
Use a flash outdoors
If you have to shoot midday in bright light, the sun can cause very unattractive shadows on the face of the person you’re shooting. A flash will help eliminate these shadows. Choose between a fill-flash mode if the person is fairly close to you. If they are a little further, try full-flash mode.
-
Make sure the light isn’t behind your subjects
Unless you’re going for a fabulous intentional silhouette shot on a sunset beach don’t shoot with the light ( sun or an actual light behind your subject), you won’t be able to see any of their features, just their outline or silhouette. Instead make sure the light is on them illuminating them clearly.
4. Focus
With a phone, focusing is pretty simple. A simple tap on the subject you’d like to focus is all you’ll need. As mentioned, with animals and people you’d like to focus on their eyes. With landscapes, generally you’d like everything in focus and most cameras do have a landscape setting to assist you with this. With most cameras, to focus all you need do is to hold the shutter button down halfway for it to focus.
5. Composition
The simplest description of composition I’ve seen is: What you keep in the frame, what you leave out and where you put things that are in the frame. The best tip I ever got as a beginner photographer was that your subject does not have to be in the middle. Growing up as a dancer, I imagined that centre-stage is always best. However the middle of your photo is not necessarily best for your subject e.g that hut on a hill, the dead tree in the savannah or the boat on the lake. Your photos can come to life by having things slightly off centre. The simple method of composing is known as the ‘Rule of Thirds’ and one way to describe it is to imagine a noughts and crosses grid in your viewfinder ( some cameras even have this feature already). Now place your subject where one of the four lines intersect and your photo will immediately look better.
With a little practice and keeping these tips in mind, you’re already well on your way to improving your photography at home or on holiday. Happy Shooting!